If you've never familiarized yourself with these guys head on over to the battle college and do so. These guys are straight forward rules-wise. Berserk weapon masters with high MAT and reach can turn opposing units, beasts and 'jacks into chunky salsa with a halfway decent charge. But unlike some other Khador units that can basically be point and charge these guys take a bit of finesse to get the most out of them.
Their berserk rule means that it's very easy to wipe out an enemy unit and then wipe out your own unit as well. Fenris or a Greylord Escort can mitigate this with silence but these can be spendy options. I believe that these guys really just require a few extra seconds of thought to keep them from turning on each other.
Try to put them in a position where their berserk attacks aren't going to hit each other. Enemy unit flanks are a good choice. Or group them like you would shield wall units so that if one does end up killing its buddy it only kills one buddy. Order of attacks is also important so start attacking with the reavers that have reach on the greatest number of opponents, or if you are attacking a single target try to end on a reaver at the far end of your pack rather than in the middle to reduce the number of fellow reavers that are valid berserk targets. Placement is key so really take the time to determine where they should go.
Doom reavers are a hard hitting unit so they'll probably be a high priority target for your opponents. Try breaking up your unit, moving two or three of them five or six inches ahead of the rest and far enough away from each other to make trampling a dangerous prospect for your opponent. These screening models will hit too hard for your opponent to want to risk free strikes so they'll have to deal with them somehow. Once they're engage (and likely killed) the rest of the reavers can countercharge.
Also remember that your reavers are abominations. If you get charged by something that's not fearless make sure your opponent takes their command check. A failed abomination check will immediately shut down your opponent's charge.
If you find yourself on the receiving end of a pack of doom reavers there are a few things you can do. Their average armor and defense means that dedicated ranged units will kill these guys on average rolls. Their spell ward only means that you can't target them directly with spells not that they are immune to them. Using a throw away unit of your own to land an AoE can take out a few of them.
A player with a keen eye for distances can also use the automatic miss and template deviation rules to their advantage. I once setup Terminus 10 inches away from the center of a pack of doom reavers, then cast Annihilation at a unit behind the doom reavers. Automatic miss but the template ended up only scattering one inch and still caught most of the reavers.
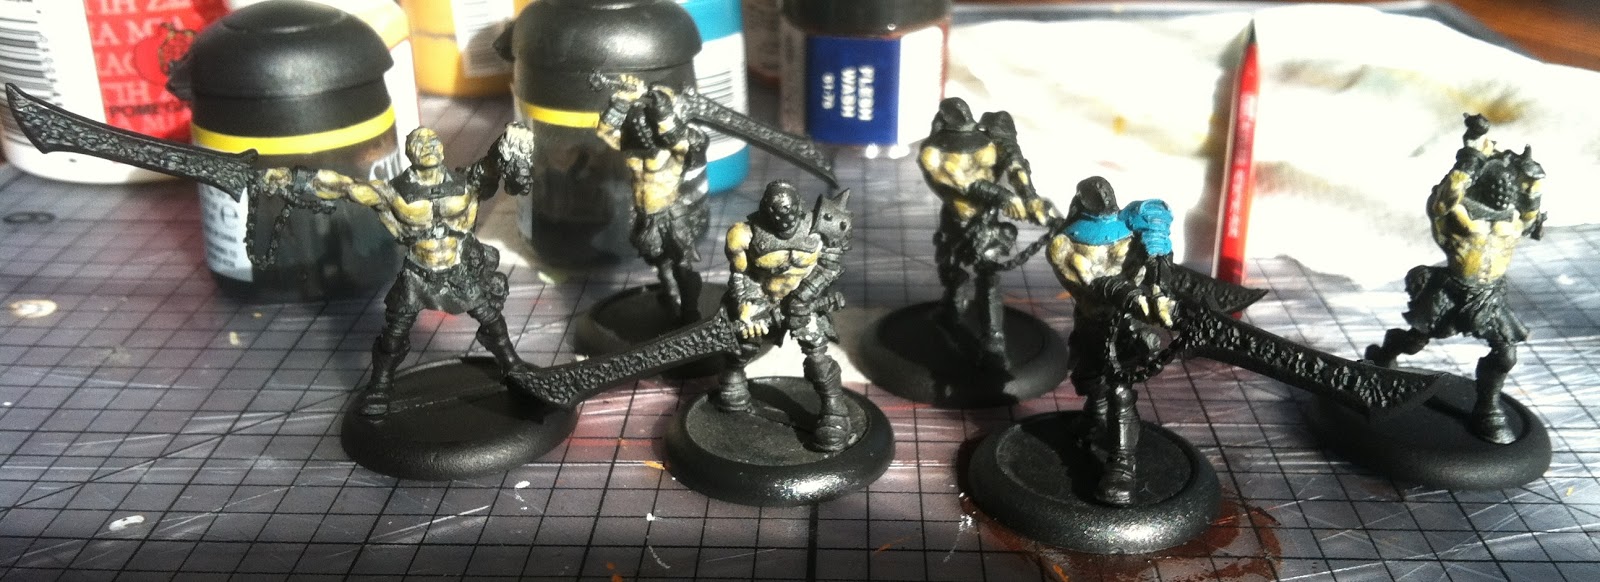
Once these models are finished off my 15 point army will be more than half done models wise. I'm hoping to have these guys finished up real soon so I can get started on my caster, jack and widowmakers. Then it will be on to face smashing goodness.


No comments:
Post a Comment